
Technical Checklist
All the all technical tasks involving an onboarding, wich are not part of the integration itself.
This article summarizes all the aspects of an onbording that have to be tackled in paralel to the integration itself.
Active Directory
To provision accounts in Wapping, we have two models depending on how you manage authentication within your organization.
If you use Microsoft Entra ID (Azure AD) to manage identities in your organization it is automatically possible to grant access and permissions directly with your enterprise accounts without any configuration
If you do not manage user identity with AD internally in your organization, no problem—we create the access in a dedicated tenant on our side to do the same thing, using accounts separate from your organization and handled by Wapping.
Domains
A subdomain needs to be created to direct to the Customer Wallet so that clients can access it through one of your corporate URLs and to secure it in case it's embedded in the ecommerce via iframe.
The first step is to decide what the URL for this Wallet will be. It should follow the format: club.yourdomain.com
This is more of a business decision regarding what public address you want to configure.
From a technical perspective, this is done by creating a CNAME record in your DNS. It’s a simple configuration to point the domain you choose to our Wallet Web App.
Therefore, the DNS entry to create will be:
(CNAME) club.yourdomain.com > wapping-app-customer-wallet-pro-northeu.azurewebsites.netGoogle and Apple Stores
This step will only be required if Wapping is the one providing the Mobile App and/or the Wallet Pass integrations.
If the business is going to use the custom APP provided by Wapping, it will be necessary to create an account in its name on the Apple and Google Stores. The APPs are published under the business’s name (Wapping is not visible to the end customer), and therefore the business needs to have its own account on the stores.
Below are the steps to follow for each store:
- Create a Google account
Associate it with the developer program (https://play.google.com/console/u/0/developers) - Pay the fee (€25 one-time payment)
- Wait for validation (it can take from a couple of days up to 1 week)
- Create the APP descriptions (texts + screenshots) required by Google
APPLE
- Create an Apple account
- Associate it with the developer program (https://developer.apple.com/)
- Pay the fee (€99 per year)
- Complete the registration process with the company and owner’s details (the process should be done by the owner or someone using their details; no one else’s details are accepted. They perform validation and may even call by phone, which is why it must be the owner).
- Register the company with its DUNS number. If you already have one, you need to enter it during registration; if not, you must request it (https://developer.apple.com/support/D-U-N-S/) (this can take up to 1 week)
- Wait for the developer account to be validated (it can take from a couple of days up to several weeks)
- Create the APP descriptions (texts + screenshots) required by Apple
Wallet Passes
To manage Wallet Passes, the respective certificates are required to generate them on behalf of the business.
Below are the steps for each platform:
-
Step 1: Create an account and project in Google Cloud.
-
Step 2: Enable API, create a service account, and export the key.
-
To manage Passes, you need a Google Cloud account with a project created to support this functionality.
-
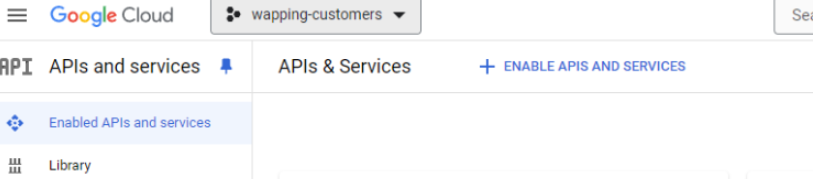
With this project selected, go to the APIs section.
-
Then, enable the Google Pay Passes / Wallet API
https://console.cloud.google.com/apis/dashboard -
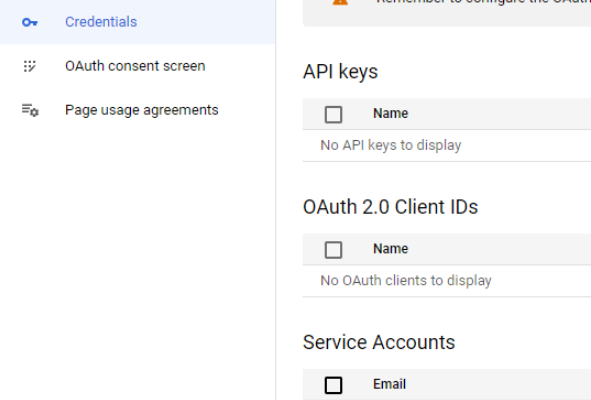
Next, create a Service Account (Credentials > Service Accounts).
-
Within this account, add a Key in .p12 format.
This key should be sent to Wapping, who will securely store it in a keyVault to generate passes using this service account.
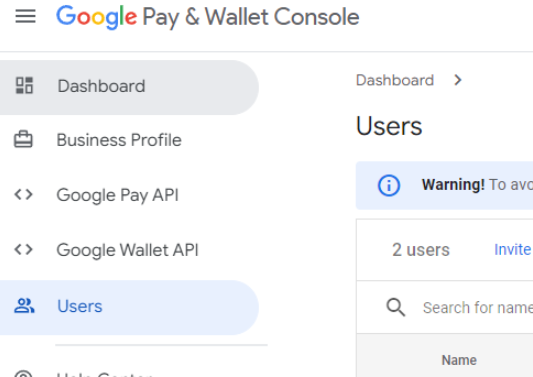
- Step 3: Add the service account to the Pay Wallet Console
https://pay.google.com/business/console, in the Users section.
Then, create a loyalty-type class with the following properties:
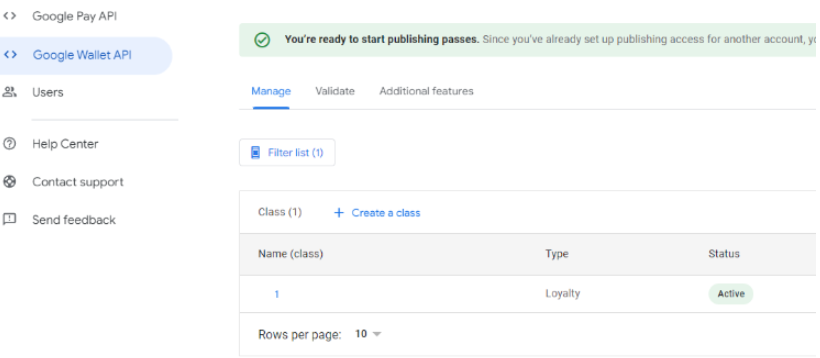
Issuer Name: <business-name>
Class ID: 1
Status: APPROVED
Logo Image URL: <URL provided by Wapping>
Background Color (Hex): #292929
Callback URL: https://wallet-pass-pro.b2w.app/v1/GooglePayCallbacks
Program Name: <program-name>
APPLE
-
Create a new Pass Identifier: https://developer.apple.com/account/resources/identifiers/list
-
We recommend defining a name like: pass.com.domain.wapping
-
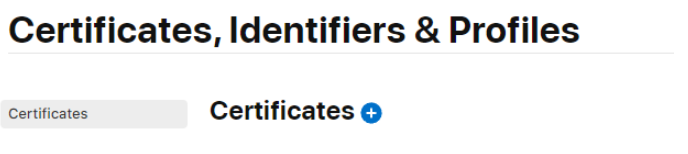
Go to the Apple Developer Console > Certificates and create a new Pass Type ID, using the previously created identifier: https://developer.apple.com/account/resources/certificates/list
You need a Mac to install this certificate and export it in .p12 format, including the private key.
This will be sent to Wapping, who will securely store it and use it to create wallet passes on behalf of the business.
Updated about 1 month ago